The safest way to clean up bird seed on the ground is to put on gloves and an N95 respirator first, then rake or scoop the bulk of the seed into a sealed bag, follow up with surface-specific cleaning (bleach rinse for soil, detergent scrub for hard surfaces), and dispose of the bagged material in your outdoor trash. That is the short answer. Below is the full walkthrough, including how to handle wet, sprouted, or moldy seed without spreading contamination or harming the birds that come back to feed.
How to Clean Up Bird Seed on the Ground Safely Today

Maya Collins
17 Apr 2026
Why seed piles up and gets messy in the first place
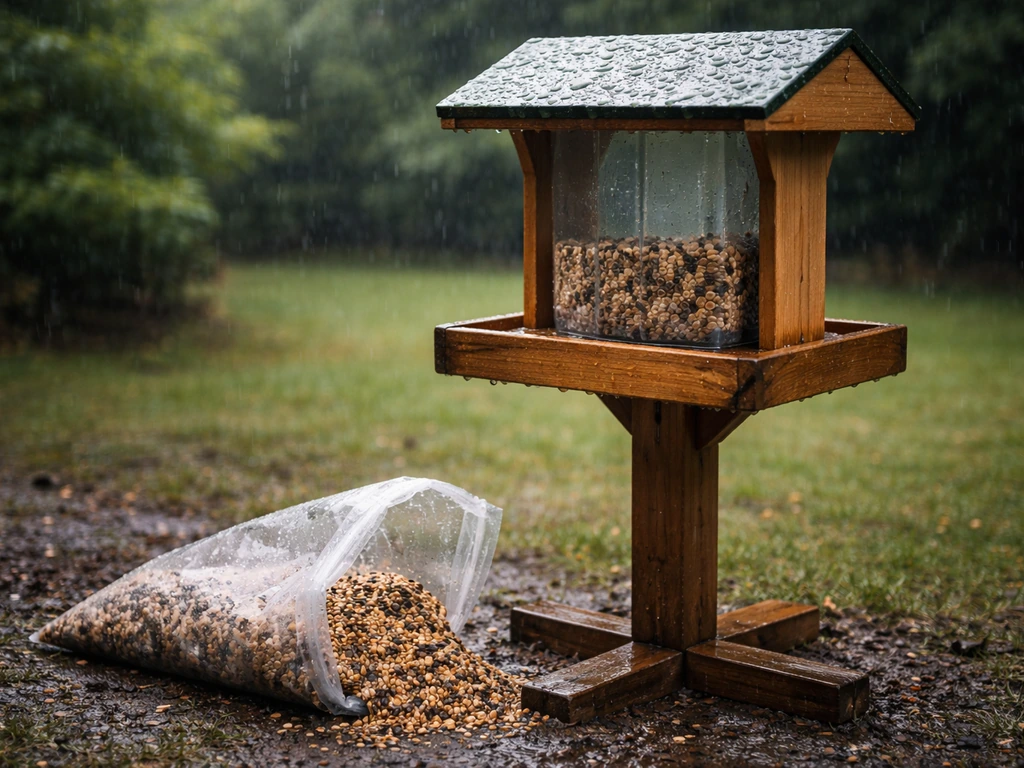
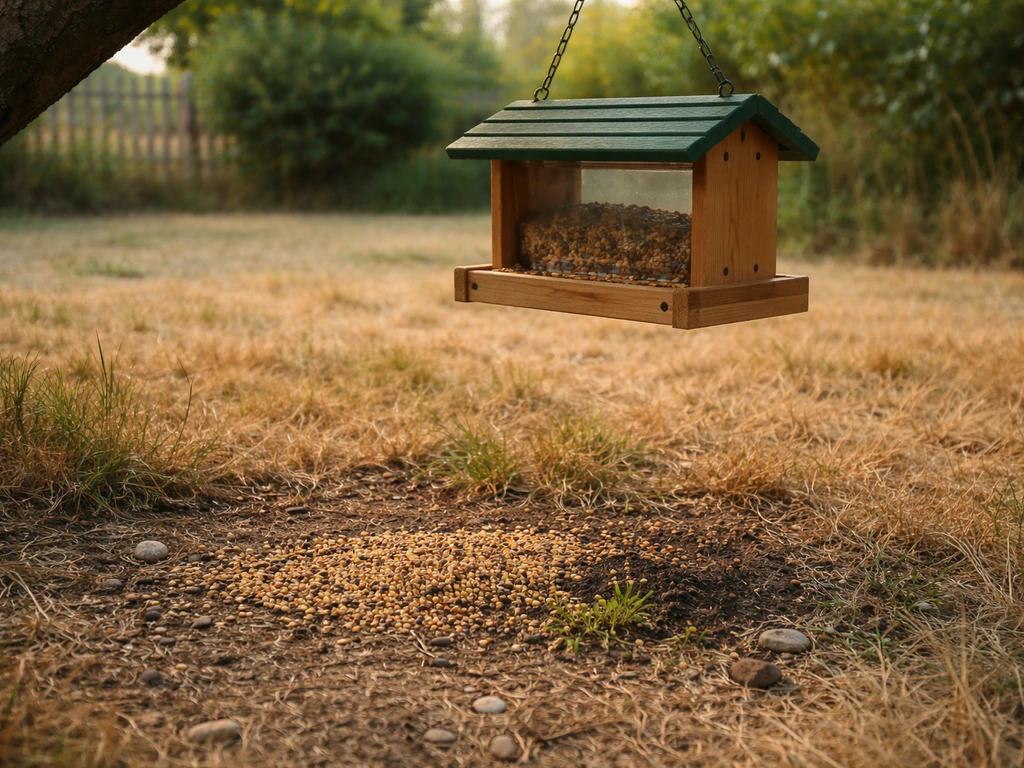
Ground mess under a feeder almost always comes from one of three things: spill-heavy feeder designs, birds tossing unwanted seed out of the port, or moisture turning accumulated hulls and seed into a soggy mat. Tube feeders with wide ports and platform feeders without lips are the worst offenders for scatter.
But even a well-designed feeder will build up a layer of hulls, droppings, and half-eaten seed beneath it within a couple of weeks, and once that layer gets rained on, it becomes a breeding ground for mold. Audubon specifically flags humid summer months as the highest-risk period for seed going moldy, and Project FeederWatch recommends cleaning the area underneath feeders about every two weeks, more often during warm and damp stretches.
If you have skipped a few cleaning cycles or had a stretch of wet weather, that timeline explains exactly why you are looking at a mess right now.
Sprouted seed is a separate but related problem. Any seed with the hull intact, especially millet, sunflower, and safflower, can germinate if it sits on damp soil long enough. You end up with a patch of seedlings under the feeder that looks almost intentional. Moldy seed is the one that demands the most urgent action: it typically appears as a grayish-white or greenish fuzz on seed clumps, and it smells musty. Both sprouted and moldy seed need to come up completely, not just be raked to the side.
Gear up before you start
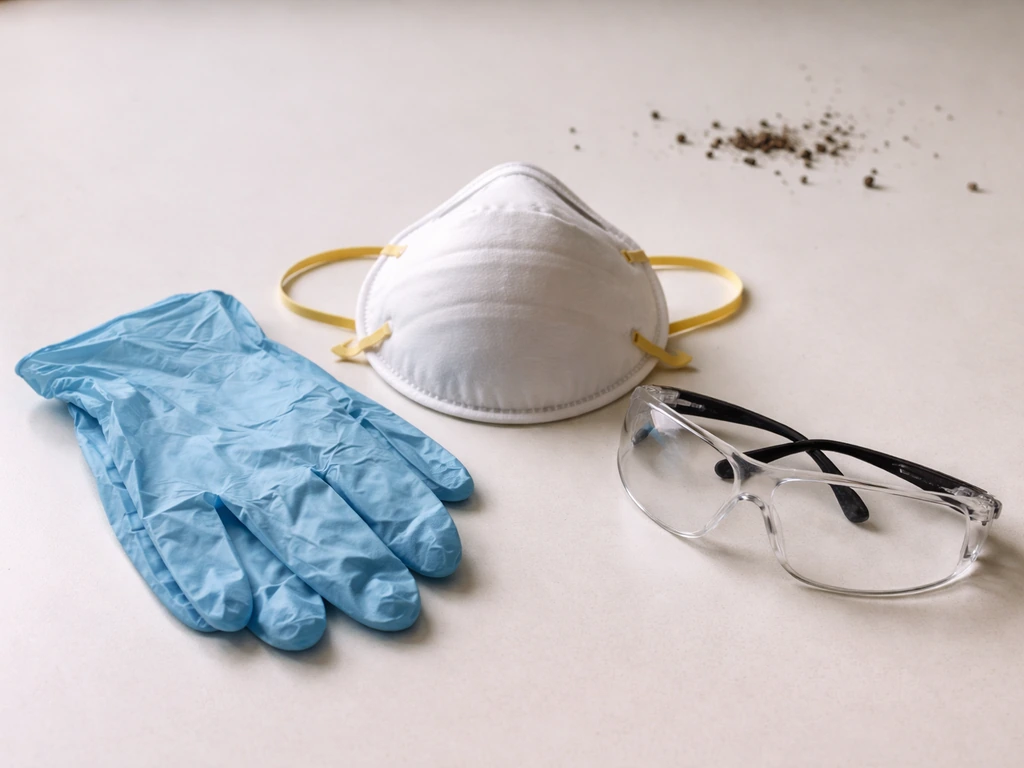
This sounds like overkill for a pile of birdseed, but mold spores are genuinely easy to inhale during cleanup. The CDC recommends at minimum an N95 respirator (not just a dust mask) and protective gloves when dealing with any mold. The CDC recommends protecting your mouth and nose by wearing at least a NIOSH-approved N95 respirator when cleaning up mold, and wearing protective gloves [N95 respirator (not just a dust mask) and protective gloves](https://www. cdc.
gov/mold-health/about/clean-up. html). The EPA reinforces this, noting that PPE should stay on not just during the main cleanup but also when you are handling HEPA vacuum filters or bagging debris afterward. Even if the seed looks fine and you are just dealing with dusty hulls, the spores from Aspergillus fungi, which colonize damp seed, are microscopic and invisible.
A few seconds to put on gloves and a respirator is worth it.
- N95 respirator (required for any moldy seed; recommended for all ground cleanup)
- Disposable nitrile gloves
- Stiff-bristle rake or a hand rake for smaller areas
- Dustpan and scoop
- Heavy-duty garbage bags (two, for double-bagging moldy material)
- Shop vacuum with a HEPA filter (optional but very effective on hard surfaces)
- Bucket with warm water and a few drops of dish soap
- Dilute bleach solution: roughly 1 part bleach to 9 parts water
The immediate cleanup: getting seed off the ground fast
Start by removing the bulk of the seed before you do any washing or rinsing. Raking is the standard move recommended by Project FeederWatch, BC Wildlife, and Audubon alike, and it works on every surface type. Use a stiff rake to gather seed, hulls, droppings, and any matted clumps into a pile, then scoop everything into a garbage bag. On hard surfaces like patios and decks, a shop vacuum speeds this up considerably. Gardening Know How specifically suggests a shop vac for sucking up scattered seed quickly, and it is genuinely the fastest tool for grout lines, decking gaps, and textured concrete where a rake misses material.
One important rule here: if any of the seed looks or smells moldy, do not shake the rake or blow the pile around. Keep movements slow and deliberate to avoid launching spores into the air. Bag everything as you go rather than creating one large pile you then have to move. If you used a shop vacuum, the blank" rel="noopener noreferrer">filter and its captured contents should go into a sealed plastic bag before disposal, exactly as the EPA specifies for HEPA vacuum debris.
Deep cleaning by surface type
Grass and soil
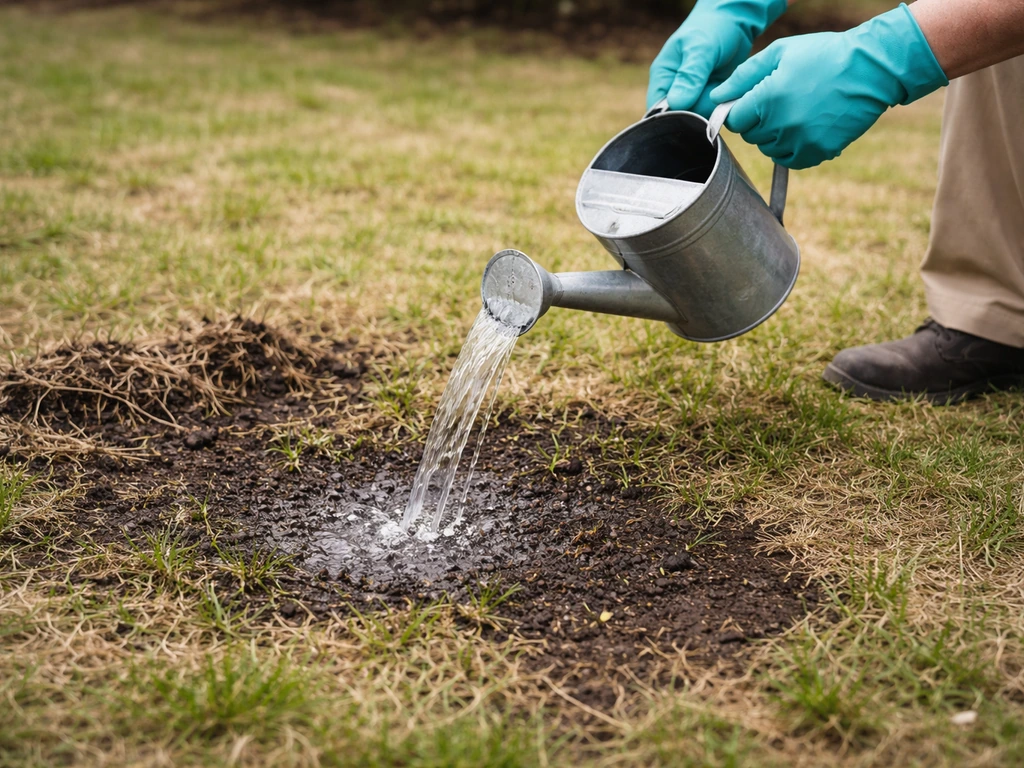
After raking up the bulk material, Georgia DNR recommends soaking the patch of grass or soil where moldy or sprouted seed was found with a dilute bleach-and-water solution. A 1:9 bleach-to-water ratio applied with a watering can or garden sprayer works well. Let it sit for a few minutes, then rinse with plain water. This kills mold spores in the top layer of soil and discourages regrowth. If you are dealing with a large sprouted patch, pull the seedlings by hand first (roots and all), then do the bleach rinse. For plain seed buildup with no mold, a thorough raking and a rinse with plain water is usually enough.
Patios and decks
Hard, non-porous surfaces are the easiest to clean. Once the bulk seed is vacuumed or swept up, scrub the area with warm water and a mild detergent, then rinse. For any mold staining or residue, follow with a dilute bleach rinse and let the surface air dry completely. The EPA's mold cleanup guidance for non-porous hard surfaces specifically calls for vacuuming or damp wiping with water and mild detergent, then allowing the surface to dry thoroughly to discourage further mold growth. On a wooden deck, skip the bleach if the wood is untreated and opt for a deck-safe cleaner instead, since bleach can lighten and dry out bare wood.
Gravel and driveway
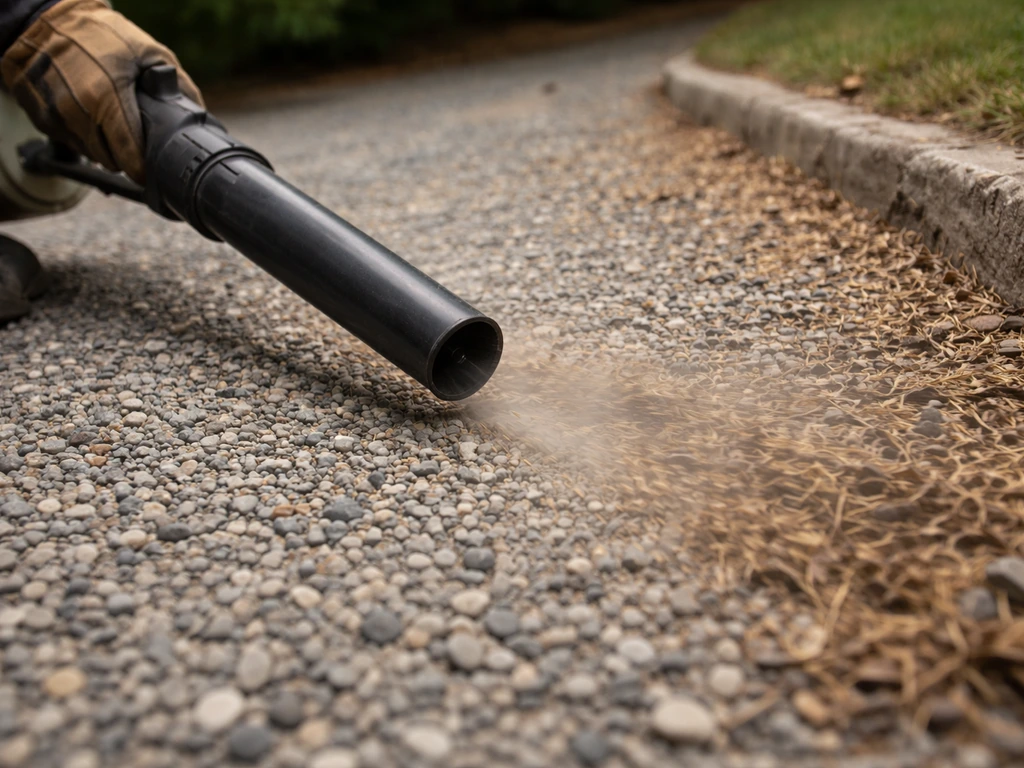
Gravel is the most frustrating surface because seed hides between stones. A leaf blower on a low setting can push loose dry seed to the edges where you can collect it, but avoid this with moldy seed since it sends spores flying. For moldy material in gravel, a slow raking pass to bring seed to the surface followed by scooping is safer. A follow-up rinse with a garden hose helps flush fines and dust down through the gravel. On a smooth driveway, the shop vacuum approach works well, and you can finish with a hose rinse.
Disposing of seed without creating a new problem
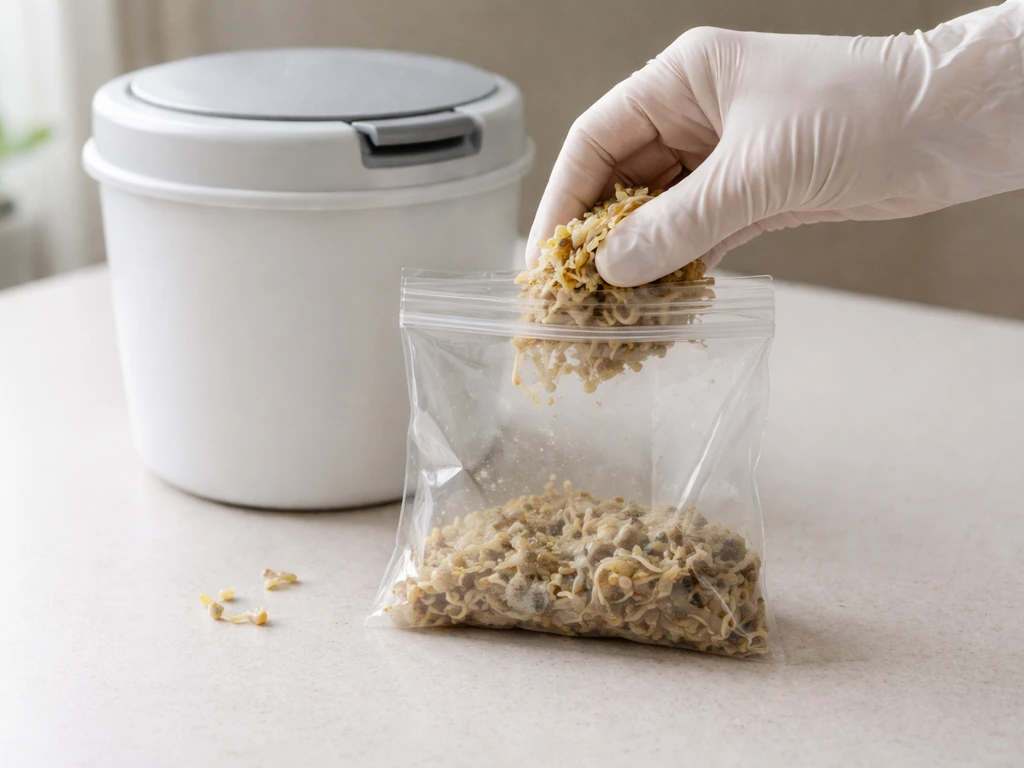
The disposal step matters more than most people realize. Popular Science specifically warns against dumping contaminated seed on the ground elsewhere, even in a far corner of the yard, because other birds will find and eat it. Moldy seed can make birds sick, and spreading it around just moves the problem. Double-bag moldy or wet seed in heavy-duty plastic bags, seal them tightly, and put them in your outdoor garbage bin. Do not compost moldy seed. Plain dry seed and hulls with no mold can go into your yard waste or compost bin if your local program accepts it, but when in doubt, bag and trash it.
Handling wet, sprouted, and moldy seed: what stays and what goes
Not every piece of seed on the ground is ruined, but the threshold for tossing it should be low. The BC Government's wildlife health guidance is blunt on this: do not give birds moldy or damp seed. If seed got rained on recently but dried out quickly and shows no mold, it may still be fine in the feeder. If it clumped, smells off, or has any visible fuzz, it goes in the trash. Understanding whether bird seed can safely get wet at all is helpful context here, because brief moisture exposure is not always a death sentence for seed, but prolonged dampness almost always is.
For seed that got wet but has not yet molded, your options depend on how quickly you caught it. If you have a batch of wet bird seed and are unsure what to do with it, spreading it on a flat surface in a sunny, breezy spot to dry out within a few hours can salvage it. Anything that has been sitting wet overnight or longer should be treated as compromised and discarded.
| Seed condition | Safe for birds? | What to do |
|---|---|---|
| Dry, no mold, just spilled | Yes | Collect and return to feeder or discard |
| Damp but dried quickly, no mold | Possibly | Inspect closely; dry fully before reusing |
| Wet and clumped, no visible mold | No | Discard in sealed bag |
| Sprouted (germinated) | No | Pull and discard; treat soil with dilute bleach |
| Visibly moldy (fuzzy, gray, green) | No | Bag and trash; wear N95 during cleanup |
| Musty-smelling with no visible mold | No | Treat as moldy; discard |
Preventing the mess from coming back
Get a seed catcher tray or skirt
A mesh seed catcher tray hung below your feeder is the single most effective hardware fix. It catches tossed seed before it hits the ground, keeps it off damp soil, and lets air circulate so seed dries rather than clumping. Gardening Know How specifically recommends this approach and emphasizes emptying the tray regularly so it does not become its own mold source. A seed skirt works similarly: it is a larger, domed mesh attachment that catches a wider scatter radius. Either option dramatically reduces what ends up on the ground.
Choose a lower-scatter feeder design
Tube feeders with small ports sized to the seed you are offering produce far less scatter than platform feeders or large-hopper feeders with wide openings. Finch-specific nyjer feeders are almost zero-waste when used with nyjer seed. If you want to offer a mix, look for feeders with a built-in tray at the base that catches what birds kick out. Keeping feeders 8 to 10 feet away from trees, shrubs, and structures, as Gardening Know How recommends, also reduces scatter from squirrels dislodging seed while trying to reach the feeder.
Stick to a cleaning schedule
Project FeederWatch recommends cleaning feeders about every two weeks and more frequently in warm or humid weather. That same schedule applies to the ground beneath them. A quick rake every two weeks takes five minutes and prevents the kind of buildup that turns into a full cleanup project. In summer or after heavy rain, check underneath every few days. To keep the feeder itself from contributing to ground mess, make sure you are also keeping bird seed dry inside the feeder, since wet seed in the feeder ports drips and clumps below.
Placement and site setup
University of Nebraska-Lincoln pest guidance advises against feeding birds directly on the ground and emphasizes not spilling seed near your home's foundation. Even if the feeder is a few feet out, accumulated ground seed near the house creates a rodent pathway. All About Birds notes that bird food scattered on the ground is a reliable way to attract unwanted rodents. Position feeders over a surface that is easy to rake or hose down, like packed gravel, a patio stone, or a concrete pad, rather than directly over lawn grass or garden beds where seeds sprout and mold hides.
Dealing with pests, insects, and weeds that follow the mess
Rodents
If you are finding mouse or rat activity near the feeder, the ground seed is almost certainly part of what is drawing them in. The fix is the same: daily or every-other-day cleanup of fallen seed, use of a seed tray, and moving the feeder away from any wall, fence, or shrub that gives rodents cover. Do not leave seed on the ground overnight. If the problem is persistent and you are wondering whether the feeder itself is the issue, it probably is not the feeder so much as the accumulation pattern underneath it.
Insects
Grain moths and weevils are common in stored seed but they can also infest seed that has been sitting on the ground for a while, especially in warm weather. If you are seeing insects in or around your cleanup area, the ground seed is likely the source or at least a contributing factor.
If you have noticed moths around your seed supply, the article on how to get rid of moths from bird seed walks through how to address that specific pest. Weevil infestations have their own playbook, and the guide on how to get rid of bird seed weevils covers the full removal process. For both, the ground cleanup steps here are part of the solution: removing the seed source is step one.
Weeds and sprouting
If weeds keep reappearing under your feeder, switch to seed that has been heat-treated or hulled. Hulled sunflower, shelled peanuts, and nyjer that has been sterilized will not germinate. Sunflower hearts are a good everyday option: birds love them, there are no hulls to accumulate, and because the seed coat is removed, germination is not possible. This one seed swap eliminates both the sprouting problem and a significant portion of the hull mess.
Protecting birds during and after cleanup
Birds will try to land and feed while you are cleaning. Do not use bleach or cleaning solutions while birds are actively visiting. Do your deep cleaning in the morning before peak feeder traffic or temporarily remove the feeder while you work. After a bleach rinse, allow the area to dry and air out for at least 30 minutes before putting the feeder back or allowing birds to land there. Bleach at the dilutions used here breaks down quickly, but giving it time to dissipate is good practice. If you saw sick-looking birds near the feeder recently, BC Government wildlife guidance recommends taking feeders down immediately and doing a full thorough cleaning before putting them back up.
FAQ
Can I reuse the bird seed I found on the ground?
Yes, but only if it is clearly dry and not clumped. If the seed has stayed damp long enough to stick into mats or show any off odor, treat it as compromised and discard it, because invisible fungal growth can still be present even when the surface looks normal.
What should I do with the filter or bag after vacuuming bird seed?
Use the sealed-bag approach even if you plan to vacuum. For HEPA or bagged shop vac work, put the collected debris, filter, and any disposable attachments into a sealed plastic bag before disposal, since handling the filter while loose can release fine particles.
Is it okay to use a leaf blower to clear under a feeder?
Do not. A rake, broom, or blower moves seed and hulls into the air, which increases spore exposure if the seed is moldy. If you suspect mold, use slow, deliberate raking to surface the material, then scoop and bag it immediately.
What if mold keeps coming back under the feeder?
If you cleaned and then see new gray-green fuzz or a musty smell within a few days, re-clean the area, remove any remaining clumps, and repeat the soil soak. Also check how often moisture is returning (heavy rain, sprinklers, shade staying wet), because repeated wetness will bring mold back.
How do I use bleach safely when cleaning under bird feeders?
Mix only fresh, properly diluted bleach with water, and never combine bleach with other cleaners (especially ammonia or acids). Apply, wait a few minutes, then rinse with plain water and let the surface dry fully before birds have access again.
How long should I wait before putting the feeder back after using disinfectants?
For birds, the key is timing, not just ventilation. If birds are actively feeding, pause cleaning, work after peak traffic, and after a bleach rinse allow at least 30 minutes of drying and air-out before letting birds land or the feeder is returned.
Does the cleanup method change if the seed is under a feeder placed on grass or a garden bed?
Yes. Seed on packed gravel, patio stone, or a concrete pad is easier to clean and much less likely to become a persistent sprouting or mold problem than seed embedded in lawn or garden beds. If you must feed near plants, use a catcher tray or skirt so debris never accumulates in soil.
Can I hose the area to wash away the debris, especially if it might be moldy?
Avoid rinsing aggressively in a way that spreads debris into beds or down a slope. For moldy material, remove and bag first, then do controlled flushing only to rinse leftover dust off the hard surface, not to wash contaminated seed into other areas.
What if I see seedlings under the feeder, but no visible mold?
Yes, and it is a good edge case rule. If you notice sprouting but no fuzz, pull seedlings (roots and all) and remove clumps completely, then dry-rinse or spot-clean as appropriate. Germination plus dampness means the area was wet long enough to be risky.
Is it ever safe to compost bird seed or hulls from the ground?
If the seed is dry, you can bag it for disposal less urgently, and you may be able to compost hulls if your local program accepts it. If it clumped, smelled musty, or looked moldy, double-bag and put it in outdoor trash, because compost can fail to kill fungal spores consistently.
Will a seed tray eliminate the need to clean underneath the feeder?
It helps prevent scatter and keeps seed from becoming damp, but it does not remove the need for periodic cleanup. Empty trays regularly (for many setups, about every two weeks, more often in humid or wet stretches) so the tray does not become the new mold source.
If I have rodent activity, how often should I clean up fallen seed?
If you are seeing mice or rats, clean fallen seed daily at first and keep the feeding area clear overnight. Move the feeder away from walls, fences, and shrubs that provide cover, because accumulated ground seed near protected edges makes the problem much harder to solve.
What should I do if I notice moths or weevils near the cleanup area?
If insects are swarming around the cleanup spot, treat the ground seed as the likely source and remove it completely. The right next step is addressing storage pests too, since larvae can spread from contaminated seed into your supply later.
Next Article
Can Bird Seed Get Wet? What to Do If It Gets Wet
Can bird seed get wet? Learn signs it goes bad, how to dry and inspect safely, and when to toss.